
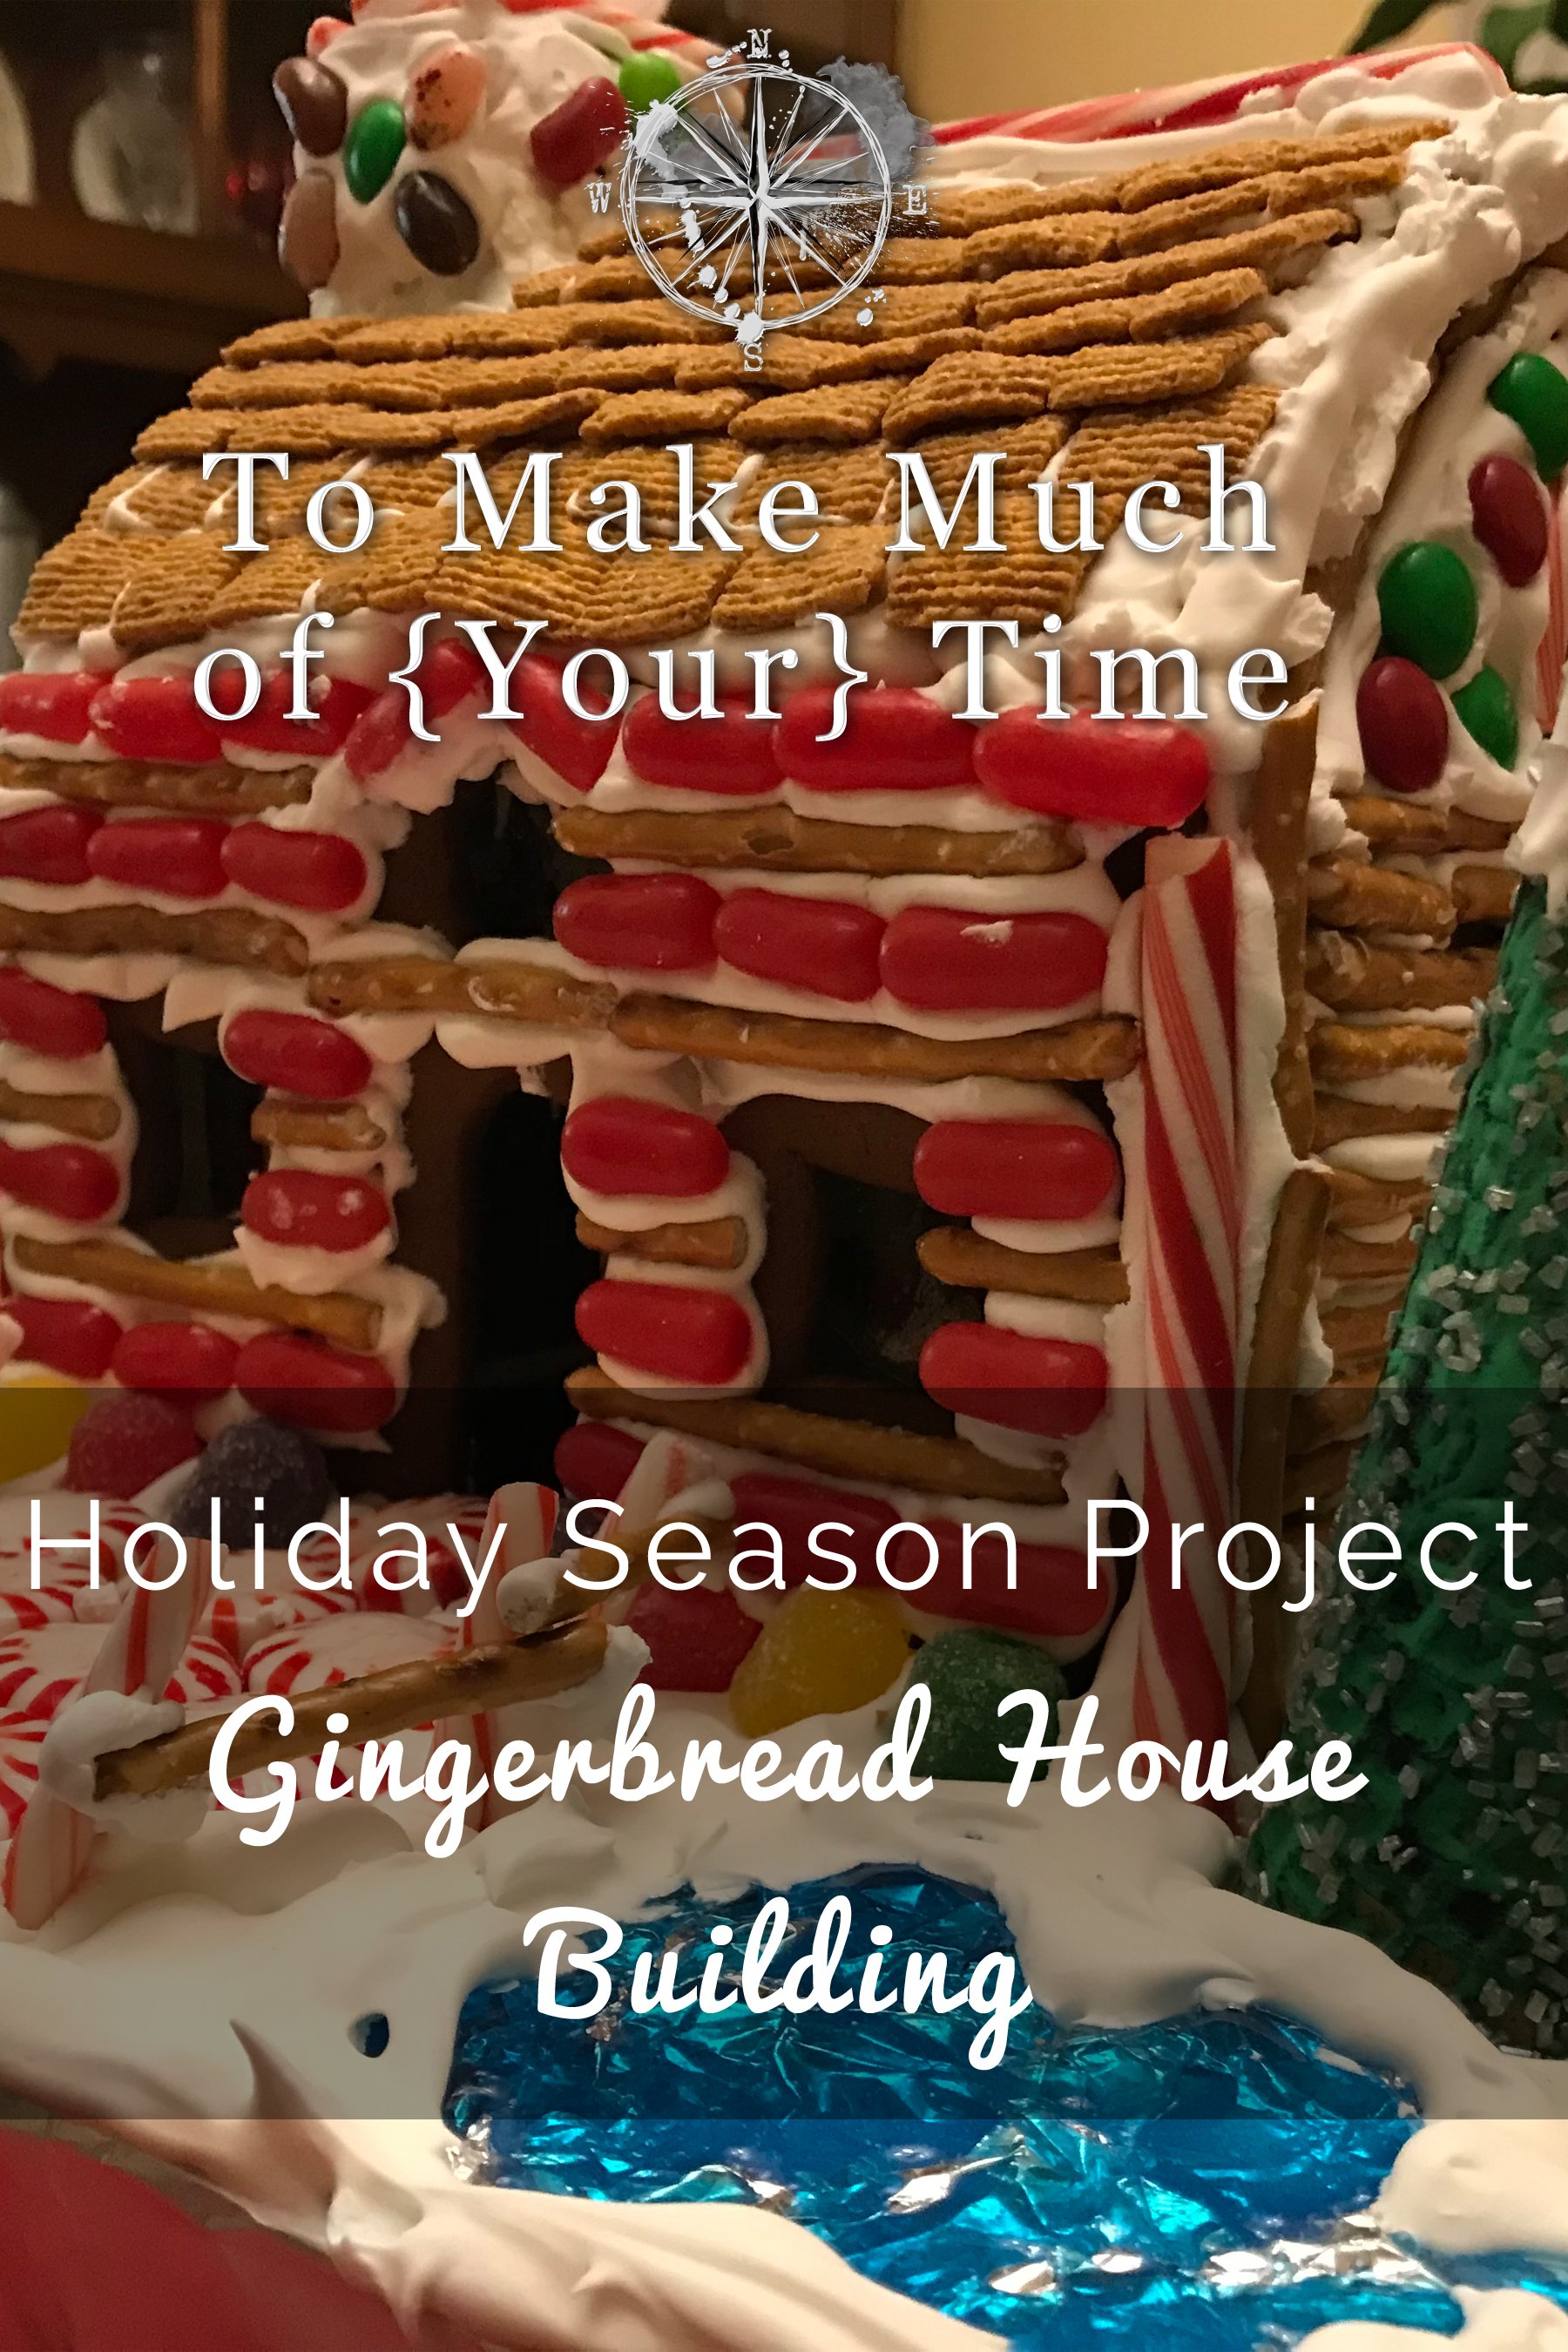
Getting into the Holiday Spirit - Gingerbread House Making

UPDATED: 10/13/2025
Note: Some links throughout our site are affiliate links, which means we may receive a small commission at no cost to you.
I am not a deep attention-to-details type of person, so the idea of building anything like a model has never appealed to me. (In this, Dustin and I are polar opposites.) So, I’m surprised as anyone that I decided to tackle building a gingerbread house this year. And not only that. I actually enjoyed it!
Years ago, my dad - an engineer by training and a lover of detailed model building - built a series of glorious, no-details-barred gingerbread houses. Each family member received one with our favorite color built into the color palette, and they were gifted to others. He relocated to be near me in the last year so with him nearby, I decided this could be a fun indoor project.
I remember one year in childhood we built a homemade gingerbread house. The details are fuzzy with the memories of childhood, but I remember the roof sliding off and think the icing was ditched for a healthy dose of glue to hold the poor building together. Definitely not edible at that point!
So what did tackling gingerbread house making look like as an adult? I learned that a gingerbread house is not something that can be built one day on a whim and requires a healthy dose of patience but honestly isn’t hard.
getting ready to build a gingerbread house: collecting supplies
Technically, the only supplies you need are the ingredients to make the gingerbread, the royal icing (for glue and decorating), candy of choice, ideally a decorating bag to apply the icing, and a sturdy surface on which to build the house.
We decided to get two optional supplies: a book called The Gingerbread Architect with recipes, templates for interesting house architecture, and general tips as well as a house cookie cutter set. Others may opt to find templates and recipes online and use their own templates and knives to cut the dough. For a newcomer, I found the book and cookie cutters to be an easier way to ease into this process, and we were very happy with the recipes for the gingerbread and icing.
Gingerbread House Decorating supplies
It’s the candy and decorations that make the house! While there are many harder-to-find candies that can be shaped like trees or Santa, for example, we went simple with our first go at it and gathered candy supplies from our local grocery store. Our entire slate of options:
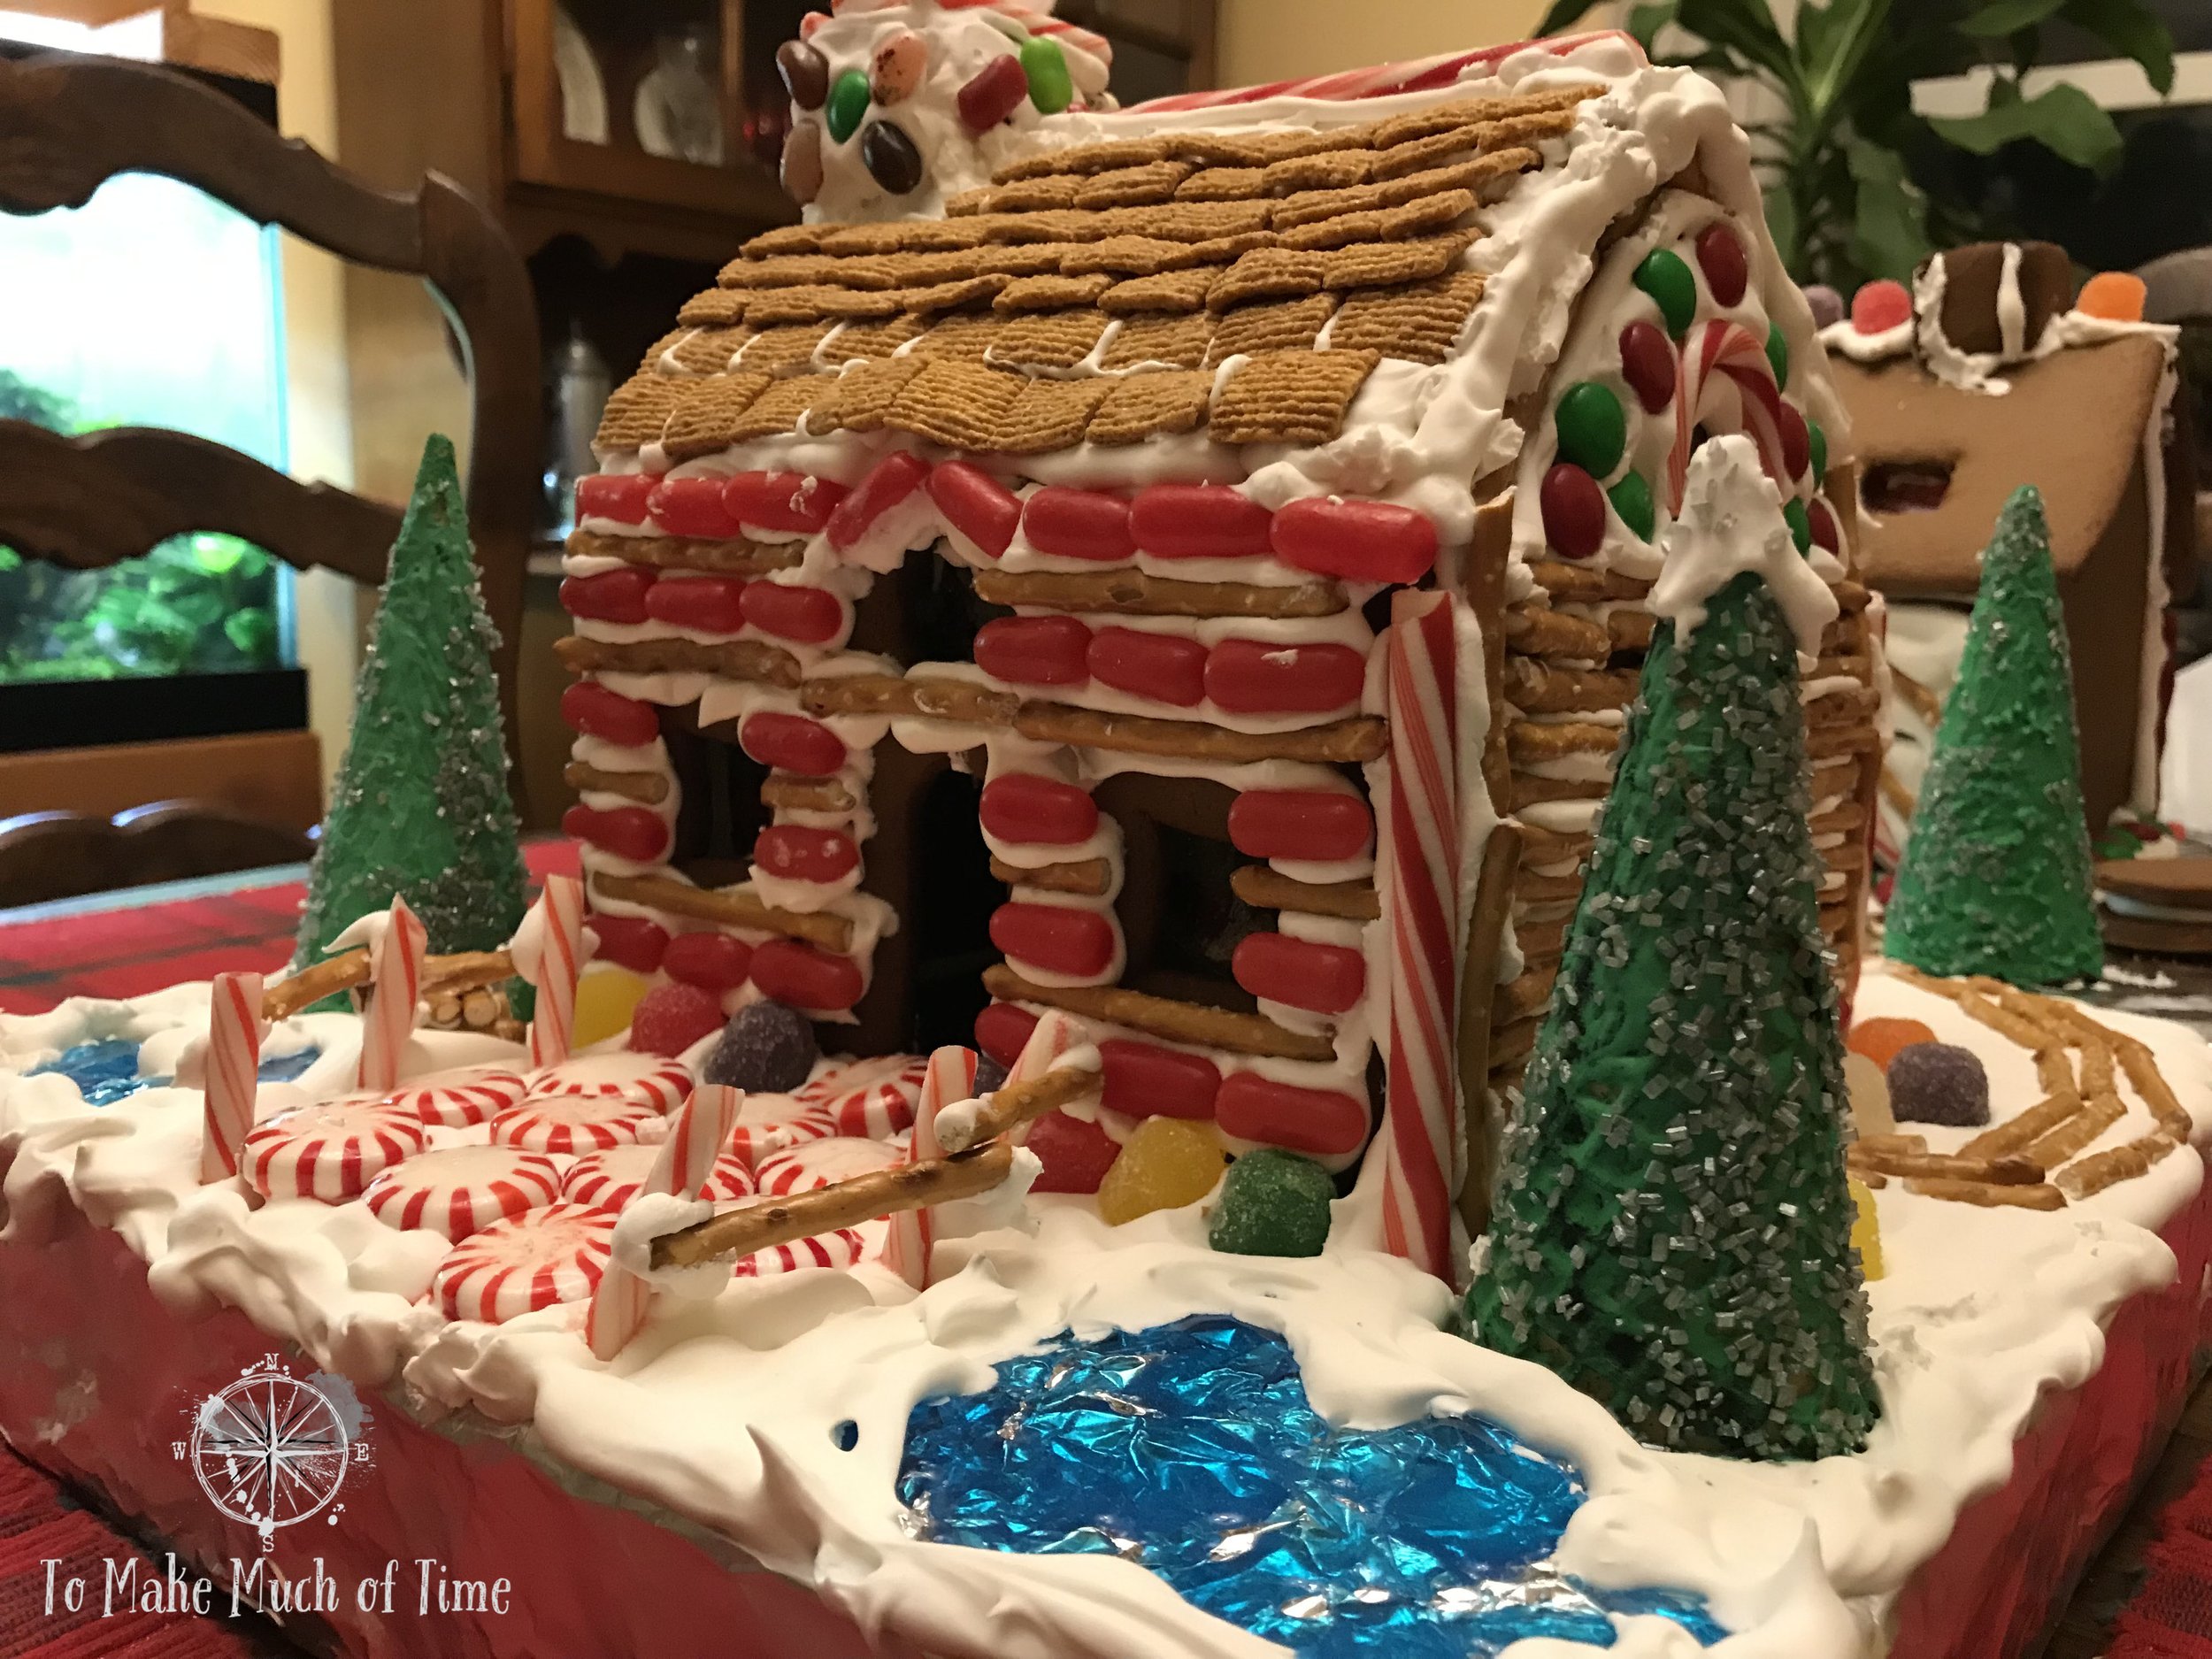
Jolly ranchers - we melted these for window panes and ponds
Golden grahams - great for roof tiles
Sugar cones - great for trees
Food coloring - can be used to color the icing - I used this to make the green for the trees
Sprinkles - endless possibilities for sprinkles, but I used silver sprinkles on the trees to give them texture
Mini marshmallows - we didn’t end up using them, but these can work well, whether white or colored
getting ready to build a gingerbread house: the timeline
You know how when you take cookies out of the oven, and they’re soft and gooey? Great for cookies, not sturdy enough to build a house! Because of this, a gingerbread house project takes several days.
With plans to work on the gingerbread house over the weekend, we picked a week night earlier in the week to make the gingerbread itself - make the dough, use the cookie cutters, and cook it. We then laid it out on plates to harden and set several days before we planned to use it. We had enough dough to make the parts for two houses, and I made an engineering flaw in mine - with a window above the front door, there was little structural integrity. By the time I went to put the house together, that side had cracked in two, but - never fear - the icing was able to stitch it back together with no problem!
The expression ‘haste makes waste’ may very well have originated with gingerbread houses, as far as I’m concerned. When we got to the weekend, we knew we couldn’t fully construct and decorate the house all at once. It is important to let the icing harden.


Taking the gingerbread parts we had made during the week, on Saturday morning we made the icing. When covered, it can last up to a day in the refrigerator. In the afternoon, we pulled out the bases we had made (leftover wall insulation board, covered in foil to look pretty), put a healthy dose of icing down, and began attaching the four walls. Over a period of time, we allowed the walls to set as the icing hardened and began decorating the walls themeslves.
On Sunday morning, we installed the roof. The roof - plus whatever decorations adorn it - make it quite heavy - so ensuring the base was really established was important. We went slow with the roof, holding it in place and being patient to let it harden. If you move too fast, the roof can start sliding down the sides of the house. Gravity is an enemy here.
In my case, I made an error and confused the roof pieces from the house sides when baking the dough. What that meant is that the sides of the house were much taller than they should have been, but the roof was too small and didn’t overhang the way it should. I ended up with about an inch gap between the roof and the short side of the house. Once the two pieces of the roof were installed, I attached a couple of licorice pieces to fill in the gap, eventually overlaid it with the icing and roof tiles, and when completed, this issue is not at all evident!
Because of the structural importance of the roof, I gave it a few hours to harden and on Sunday afternoon tackled the decorating of the roof itself. In between, I worked on decorating the setting and landscape, which was really fun, too.
building a gingerbread house: special features
This entire project was truly trial-and-error. I had no master plan going into it - I poured the candy and decorations out on the table and just went with whatever inspired me at the moment. There were a few aspects that I found worked really well.
Windows and pond
I used Jolly Ranchers for both the window panes (green apple) and pond (blue raspberry). Luckily, my dad had done this before and gave me tips to make this easy. Basically, I unwrapped the candy, used a mallet to crush it in a ziploc bag, laid it out on a piece of foil so it would melt evenly, and put it in the oven on 350 degrees. From there, I just kept an eye on it to wait until it fully melted, removed it, let it cool, and then carefully peeled the foil away.
For the windows, I cracked the melted piece of candy into segments that were large enough to cover the windows with overlap. To install them, before putting the four walls together, I simply placed the pane on the instead of the house and put icing around the edges and allowed it to harden.
For the pond, the only difference was that I crinkled up the foil (instead of leaving it smooth) to create some texture and then didn’t need to peel the foil away. I simply placed the sheet of foil with the melted candy on the base and used icing around it to fold it into the scene.


trees
To create the trees in the front of the house, I used two sugar cones. I mixed some of the icing with green food coloring, used a kitchen basting brush to apply it, dripped some additional coloring down the sides and smoothed it out with the brush for color variation, and then rolled it in silver sprinkles.
fence
The fence was constructed on a whim and is not as nice as it could be, but I used mini candy canes to form the posts and pretzel sticks for the crossbeams. Getting this to stand while hardening was a bit of a trick. Fun tip: the little pieces of broken off pretzel sticks make for great firewood when you stack them in the front of the house!
house interior and lighting
One aspect of truly artful gingerbread house building that we did not focus on is having a really cool interior that can be viewed through the windows. In the houses my dad made years ago, he had a decorated Christmas tree and other features inside that he lit up with a small light source that could be turned on/off outside the house.
As this was our first go, I decided to stick with a focus on the rest of the house and left the interior untouched; however, Dustin rigged some lighting for his - fed through the center of the house by cutting a hole in the base - so his house lights up.


my gingerbread future?
Given how much I unexpectedly enjoyed this project, I plan to start making this an annual endeavor. The book of gingerbread house architecture that we got includes some templates for really cool houses that are much more complex than the standard build, so maybe next year I will tackle one of those!
Click the image below to save this post to Pinterest!

Check out our other adventures
Soap making, candle making and more!