
Our First Try at Homemade Beeswax Candles

UPDATED: 10/13/2025
Note: Some links throughout our site are affiliate links, which means we may receive a small commission at no cost to you.
Candles have the power to transform a room with their low, flickering light adding warmth, coziness, and ambiance. Particularly in the seasons of the year with longer nights, we enjoy striking some matches, lighting the wicks and relaxing with the low candle light.
There are endless sizes of candles - from tiny tea lights to graceful tapers to large pillars with multiple wicks. There are fun candles, shaped like animals or other objects. And candles can be made out of myriad materials - scented or unscented, paraffin or beeswax, to name a few. We have long been proponents of beeswax candles for a few reasons: they burn longer (as long as they’re not in a draft), they have a pleasant, fresh smell without being perfume-y, and, most importantly, they are smokeless and do not put off any pollutants and are non-toxic. Paraffin candles are a petroleum product.
Beeswax candles are - no surprise - typically more expensive than their counterparts. There are also many products sold as ‘beeswax’ that are not 100% beeswax and may have paraffin mixed in. It is an industry not really regulated and mislabeling can be fairly common. Part of that comes down to beeswax supply chains: candlemakers may source their wax from overseas (China is a large producer) with impurities mixed in.
In 2010, we began consciously purchasing beeswax candles from a small producer that produced their wax from their own beehives. Because shipping isn’t free, we often place an order once a year or so, get a box of pillar candles, and use them until it’s time to place a new order. When we realized a few years ago that wax is also available for purchase, we started talking about giving it a go of making our own candles - both for the experience of doing it and for a roughly 25% cost savings.
Candle making can be quite simple. In essence, you melt beeswax in a double broiler, pour it into a mold, place a wick in, and give it a short time to harden. From there, the mold can be peeled off, leaving behind a ready-to-use candle!
In order to get started, we ordered a cheap double broiler and spatula. Given the nature of beeswax, we did not want to use any of our regular cookware and end up with wax dried on it. We ordered a few different sizes of molds: a 3-pack of various sized pillars and then two fun seasonal molds: one with three pumpkins stacked atop one another and the other with three skulls (it being near Halloween). We also ordered wicks that already had the wicks themselves connected to the metal bit at the bottom, though those two pieces can be purchased separately and put together but we wanted to go easy while we learned. Scroll to the bottom of this post for our exact list of supplies.

Double broiler (with residual wax in it) and for some reason the burner light showed up as purple but it’s really red!

Small slivers of beeswax helps speed up the melt time compared to a large brick of beeswax.
For the wax itself, we initially ordered it from Amazon. When we got the supplies out one evening to make candles for the first time, we were surprised to find the beeswax, upon opening the 5 pound bag, smelled more like plastic than the pleasant aroma of honey that beeswax puts off. That led us to do a bit of research before proceeding. The supplier was in China, and it appeared that the wax was probably primarily paraffin or who knows what else mixed in. I had zero interest in melting something that smelled like plastic in our kitchen so we scrapped our plans and instead spent some time researching beeswax, the supply chains surrounding it, and looking for an alternative source.
We found a small US-based business that sells both candles and beeswax that they source themselves on their own farm or only from other farms they are directly familiar with in the states. Their beeswax was quite a bit more expensive than the original bag we got, but it was priced more consistently with what pure beeswax costs. We ordered two 5-pound bags and when they arrived, they looked and smelled exactly as they should.
So, we took another stab at candle making several weeks after we had first planned!
The optimal beeswax for candle making is not a big chunk of it but rather small slivers since they melt faster. We poured a healthy dose of the beeswax pieces into the pre-heated double broiler and used the spatula to occasionally stir. The wax went quickly into various clumps of semi-melted material and then ultimately became entirely liquid in form, a pleasant amber yellow color that looks fairly similar to honey, though is more clear.

Candle molds that we purchased.

When the wax pieces start melting, the mixture will be part smooth, amber beeswax and other pieces clumped together while they heat up enough to fully melt.

We used a spatula to help break up the clumping pieces and help it melt.
As soon as the wax was entirely melted, we poured it into the first couple of molds we wanted to try. We were surprised at how quickly we used up the wax and so ended up doing three batches to make five different candles. The trickiest part was placing the wick in the middle of the molds, ensuring that it didn’t fall over. We did an okay job at that our first try. The pillar molds were already upright so the metal piece of the wick (its bottom) could be placed directly in. For the Halloween-themed molds, they were created upside down, so we placed the metal piece of the wick at the top and tried looking down through the wax and mold’s curves to line up the wicks as best we could. Because we were impatient, after a couple of hours, we started removing the molds - they’re made from silicone and so easily peel away - and found the candles seemed to be solid.

After all the beeswax melted in the double broiler.
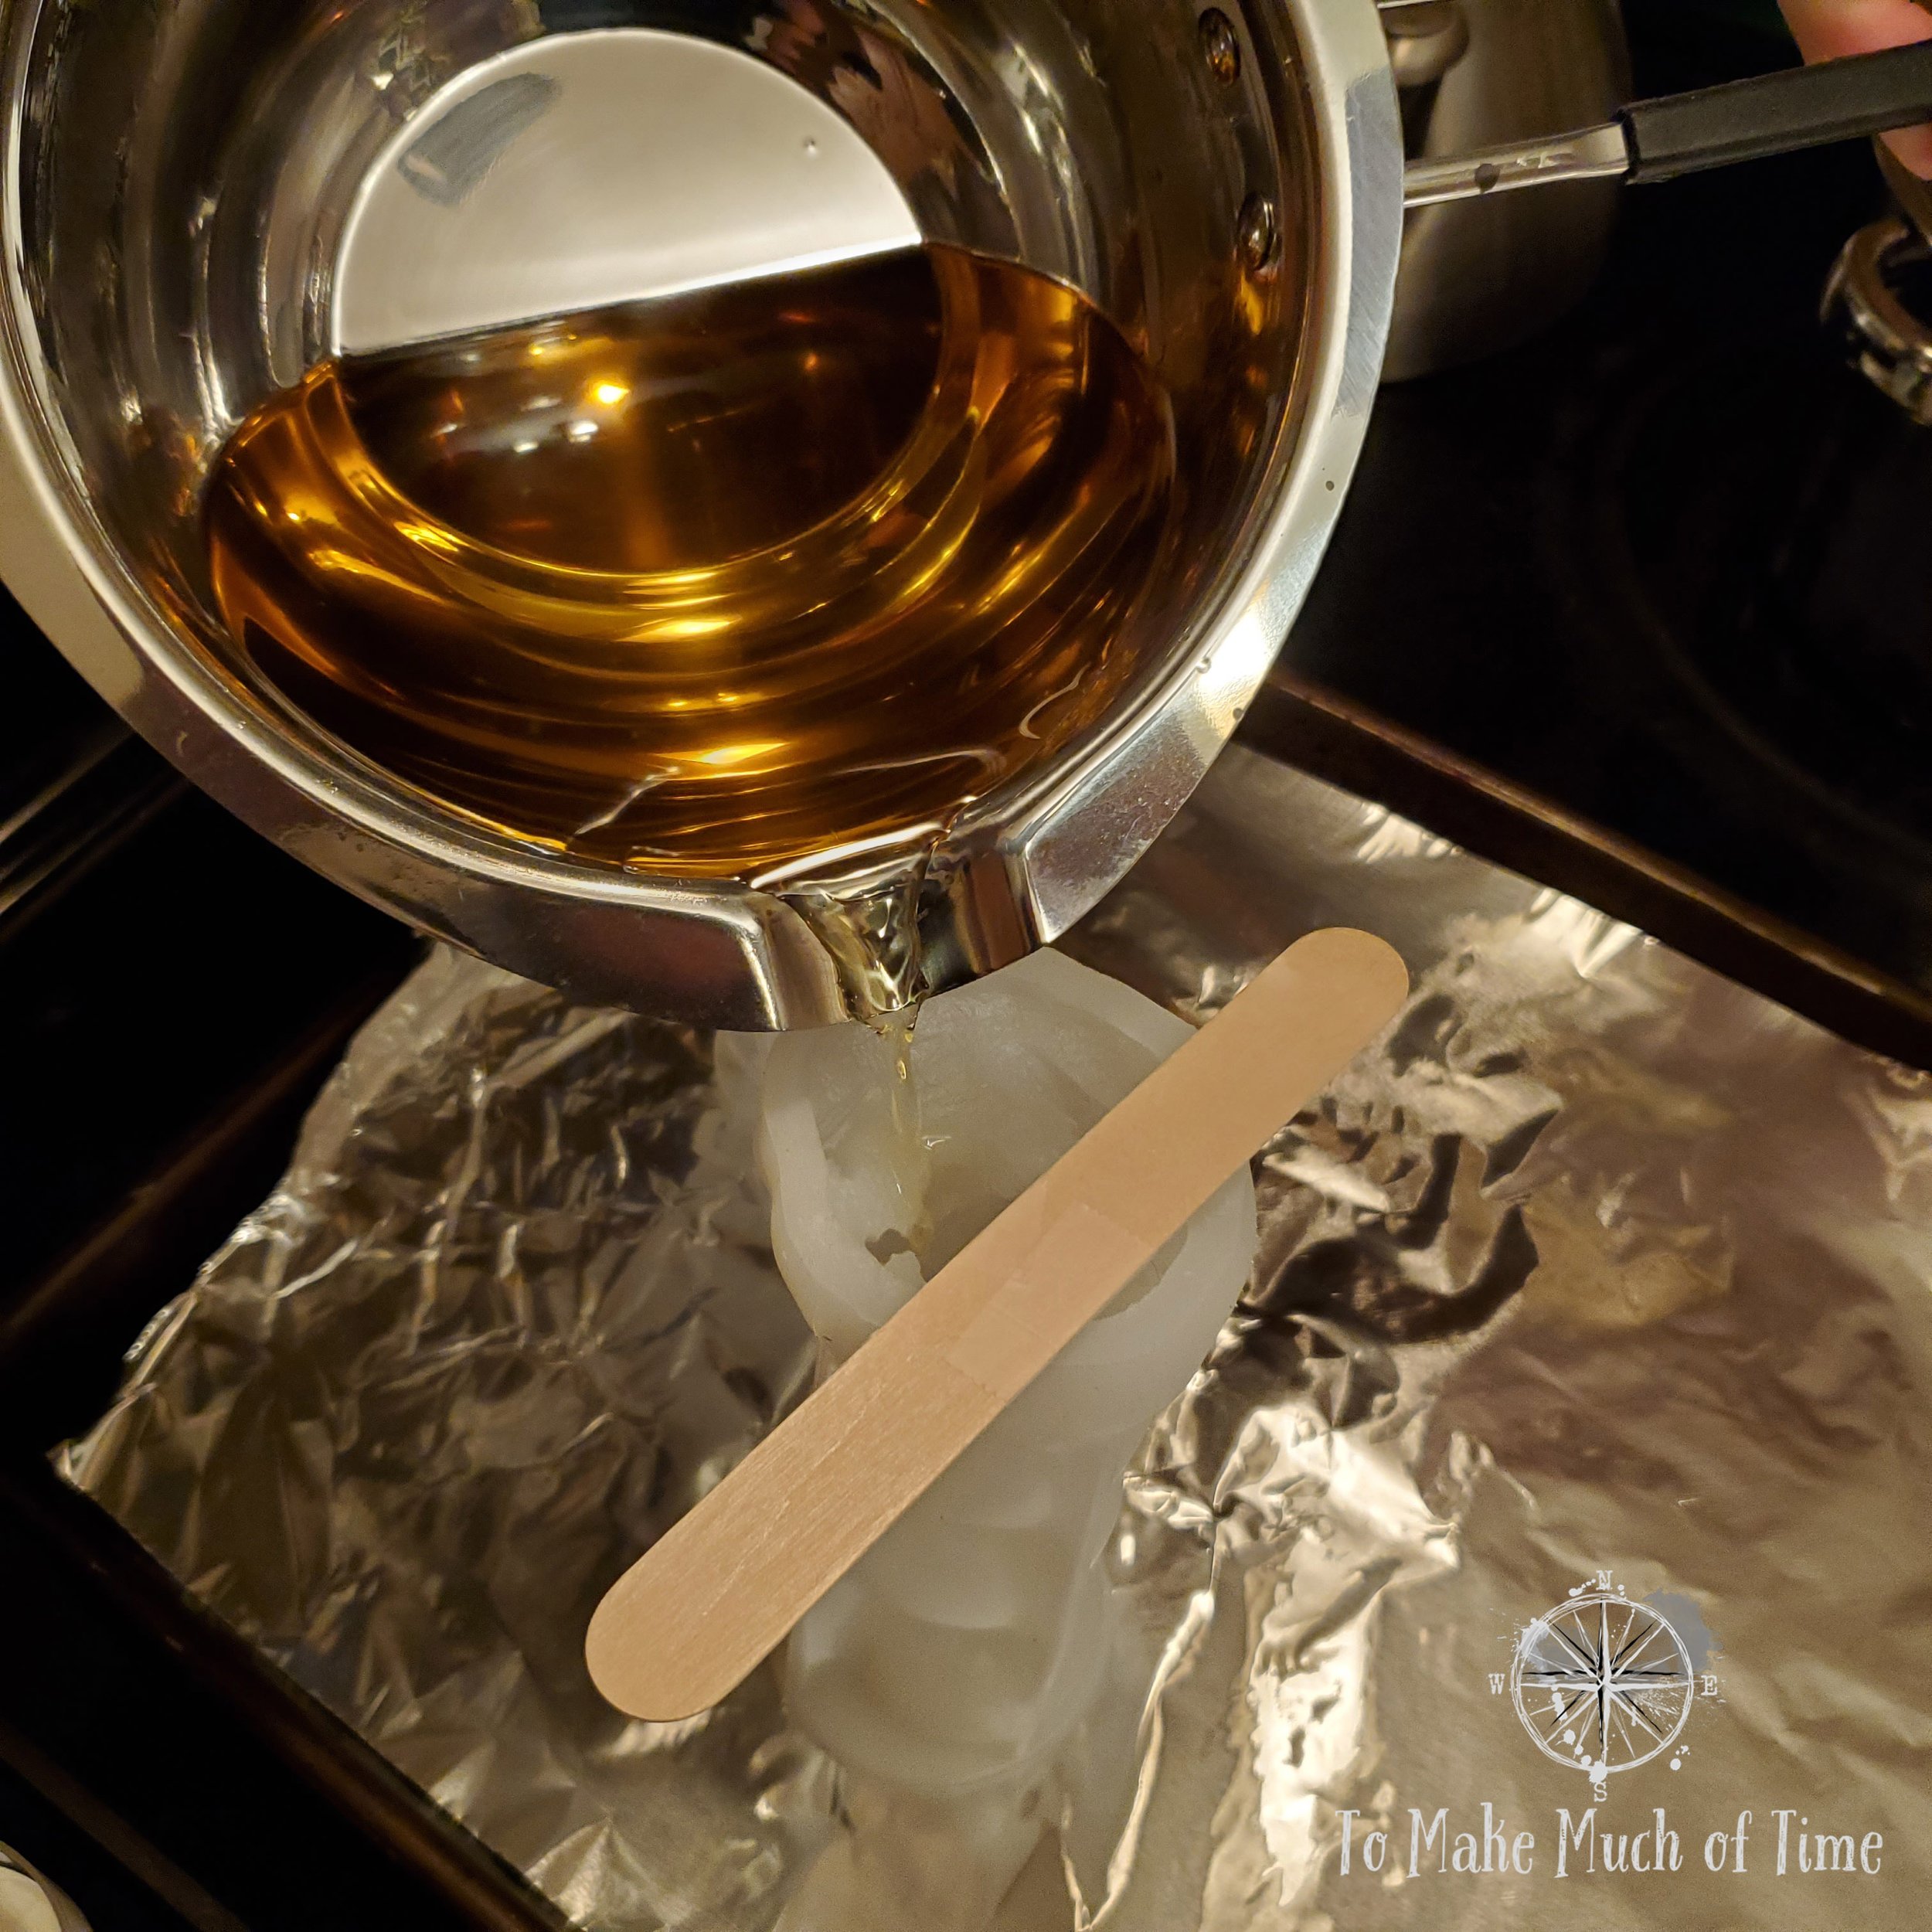
Next, we poured the wax into the molds. We tried a few different techniques to suspend the wicks in the molds - this technique had the wick taped to a popsicle stick. This was for a mold that is poured upside down (the top of the candle was at the bottom of the mold).

For this mold that was top side up, we wrapped the wick top around a toothpick.
One challenge with the couple of Halloween molds that were done upside down is that the tops of the wicks were embedded in the candle, and so it took a little bit of surgery to expose them.
We’ve now been enjoying using these candles and know some of the challenges of our first go will only be easier as we get the hang of it. In any case, it was really easy to make them and a fun activity we’d recommend. There’s something nice about seeing that golden beeswax candle in your family room, knowing you made it!
Beeswax Candle Making Supplies
- 100% Beeswax - We purchased a 5 lb bag from Honey Lake Bee Company
Double Broiler & Spatula Set - Because of the waxy residue, I recommend purchasing one for this purpose so as not to ruin regular cookware. We bought and used this one.
Candle Wicks
- Candle Molds - Skull, 4-piece Pillar Set with wicks, Pumpkin

We reused this tea light holder from a recently used up tea light and poured our own wax in with a fresh wick.

Our completed candles!

The Halloween candles were particularly fun!

This triple pumpkin looks relatively innocent by day . . .

. . . And appropriately terrifying by night.
Click the image below to save this post to Pinterest for later!


Check out more adventures in life!