
Homemade Soap. Why Not?

UPDATED:10/13/2025
The story is familiar. A Sunday morning bacon breakfast, seared steaks on the skillet. What they make gets transferred to plates and devoured. What they leave behind is a goopy, fatty mess in the frying pan. And we all know that the fat absolutely should not go down the sink (and most of us have cheated a time or two).
A glass jar sits under the sink in anticipation. It spends its entire life awaiting its hit of cooking fat. When the jar’s lid is removed, it is smart to hold your sense of smell in stasis. Sniff at your own risk. Grease in, top on, jar returned to its home beneath the kitchen sink. Life goes on until one day when the jar is full and it makes a one-way trip to the trashcan and it replaced by a younger, shinier version of itself. (It’s ending will be the same.)
But is that the full life cycle of the sad, fatty jar? Does that have to be the ugly ending?
A couple of years ago we happened upon a BBC show called Secrets of the Castle, a 5-episode miniseries that highlighted the multiple decade (1997 to present and counting) build of a castle in France. The ‘experiential archaeology’ crew set out to build a 13th century Medieval castle using building techniques from that age.
During the filming of the show, the 3 members of the BBC team lived (or pretended to live?) onsite and explored what life would have been like for those helping to build the fortress. Building is a dirty, dusty task and so one of the episodes featured them making their own soap from fat.
So curious minds such as Dustin’s thought: hmm why not give this a try?
And he set out to prevent me from throwing away any of these full jars of fat. Yeah, I balked at that because while making soap sounded cool, was he ever actually going to do that or just collect endless jars of fat?
Suffice it to say that we were both right. A few years passed, and soap is now being made.
During this past summer, Dustin took the fat from under the kitchen sink. I was thrilled to see it go. We had about 2 small and 1 large (glass) peanut butter jars full (about 3+ lbs) at that point. Dustin cleaned and rendered (removed water from it) the fat and then - because really what’s the rush? - he poured the fat out, sliced it up, and stuck it in the freezer on a dinner plate. A perversely white pie. Hint: there is no need to freeze as part of the soap making process but procrastinators around the globe can rejoice: you can draw out the process by freezing the cleaned/rendered fat for endless months!

A delicious cake of lard and tallow…. perfect ingredients for soap! This image shows the missing slices that we used for soap-making. So, we still have more than half left.
(During the hiatus from supposed soap making, Dustin embarked on digging a large, deep pit in our backyard to discover the depths of Virginia clay. I can only imagine what our neighbors thought. Was it a grave? Were we building a bunker? But no, the purpose was to collect Virginia ‘red clay’ for a homemade brick project, bricks which Dustin fired in his own homemade kiln near said pit in the backyard. That is a separate story entirely.)

Bricks were a blast to make! Though I wouldn’t want to have to make enough for an entire house.
The fat sat there in the freezer. This is our extra basement freezer for the annual pork, beef, and chicken shares we get from local farmers. The pretty, pie-shaped, iceberg-like fat chunks were absolutely in the way. But still, they endured.
During this time, Dustin thought about what other supplies he would need to make the soap some day. He thought about making a homemade soap mold but upon discovering that they could be purchased online for a small amount, he thought better of it. He bought two molds, one slightly larger than the other. They are, in essence, a rectangular box of wood filled with a removable silicon interior. He also bought a soap cutter (this is similar to a manual bread cutter to help make consistent-sized slices), and he selected a pack of soap scents.
(During the hiatus from supposed soap making, Dustin also embarked on dice-making, which resulted in purchasing a lot of different paints, colors, and mica powders that are used to color the dice artistically.)
It turns out that in spending time looking at mica powders, he realized that the powder he was using for his dice were also commonly used in the making of soap and were designed as such (not all mica powder can be used this way). He also bought lye, an important ingredient.
The ingredient list complete, a winter weekend with unseasonably warm weather was a perfect opportunity to start making soap.
We selected the sandalwood scent (which handily beat out one contender of ‘fresh cut grass’) and the deep blue “Twilight” mica coloring.
Soap can be made with all sorts of different ingredients. In fact, some soap recipes doesn’t use fat at all. Dustin decided to add olive oil and coconut oil (both of which are the same as you would use in regular cooking) to our batch for added moisturizing characteristics. (I notice that I said ‘our’ which I think means I am a mercenary, willing to join up when something interesting starts happening.)
The process of making the ingredients into soap isn’t particularly complicated.

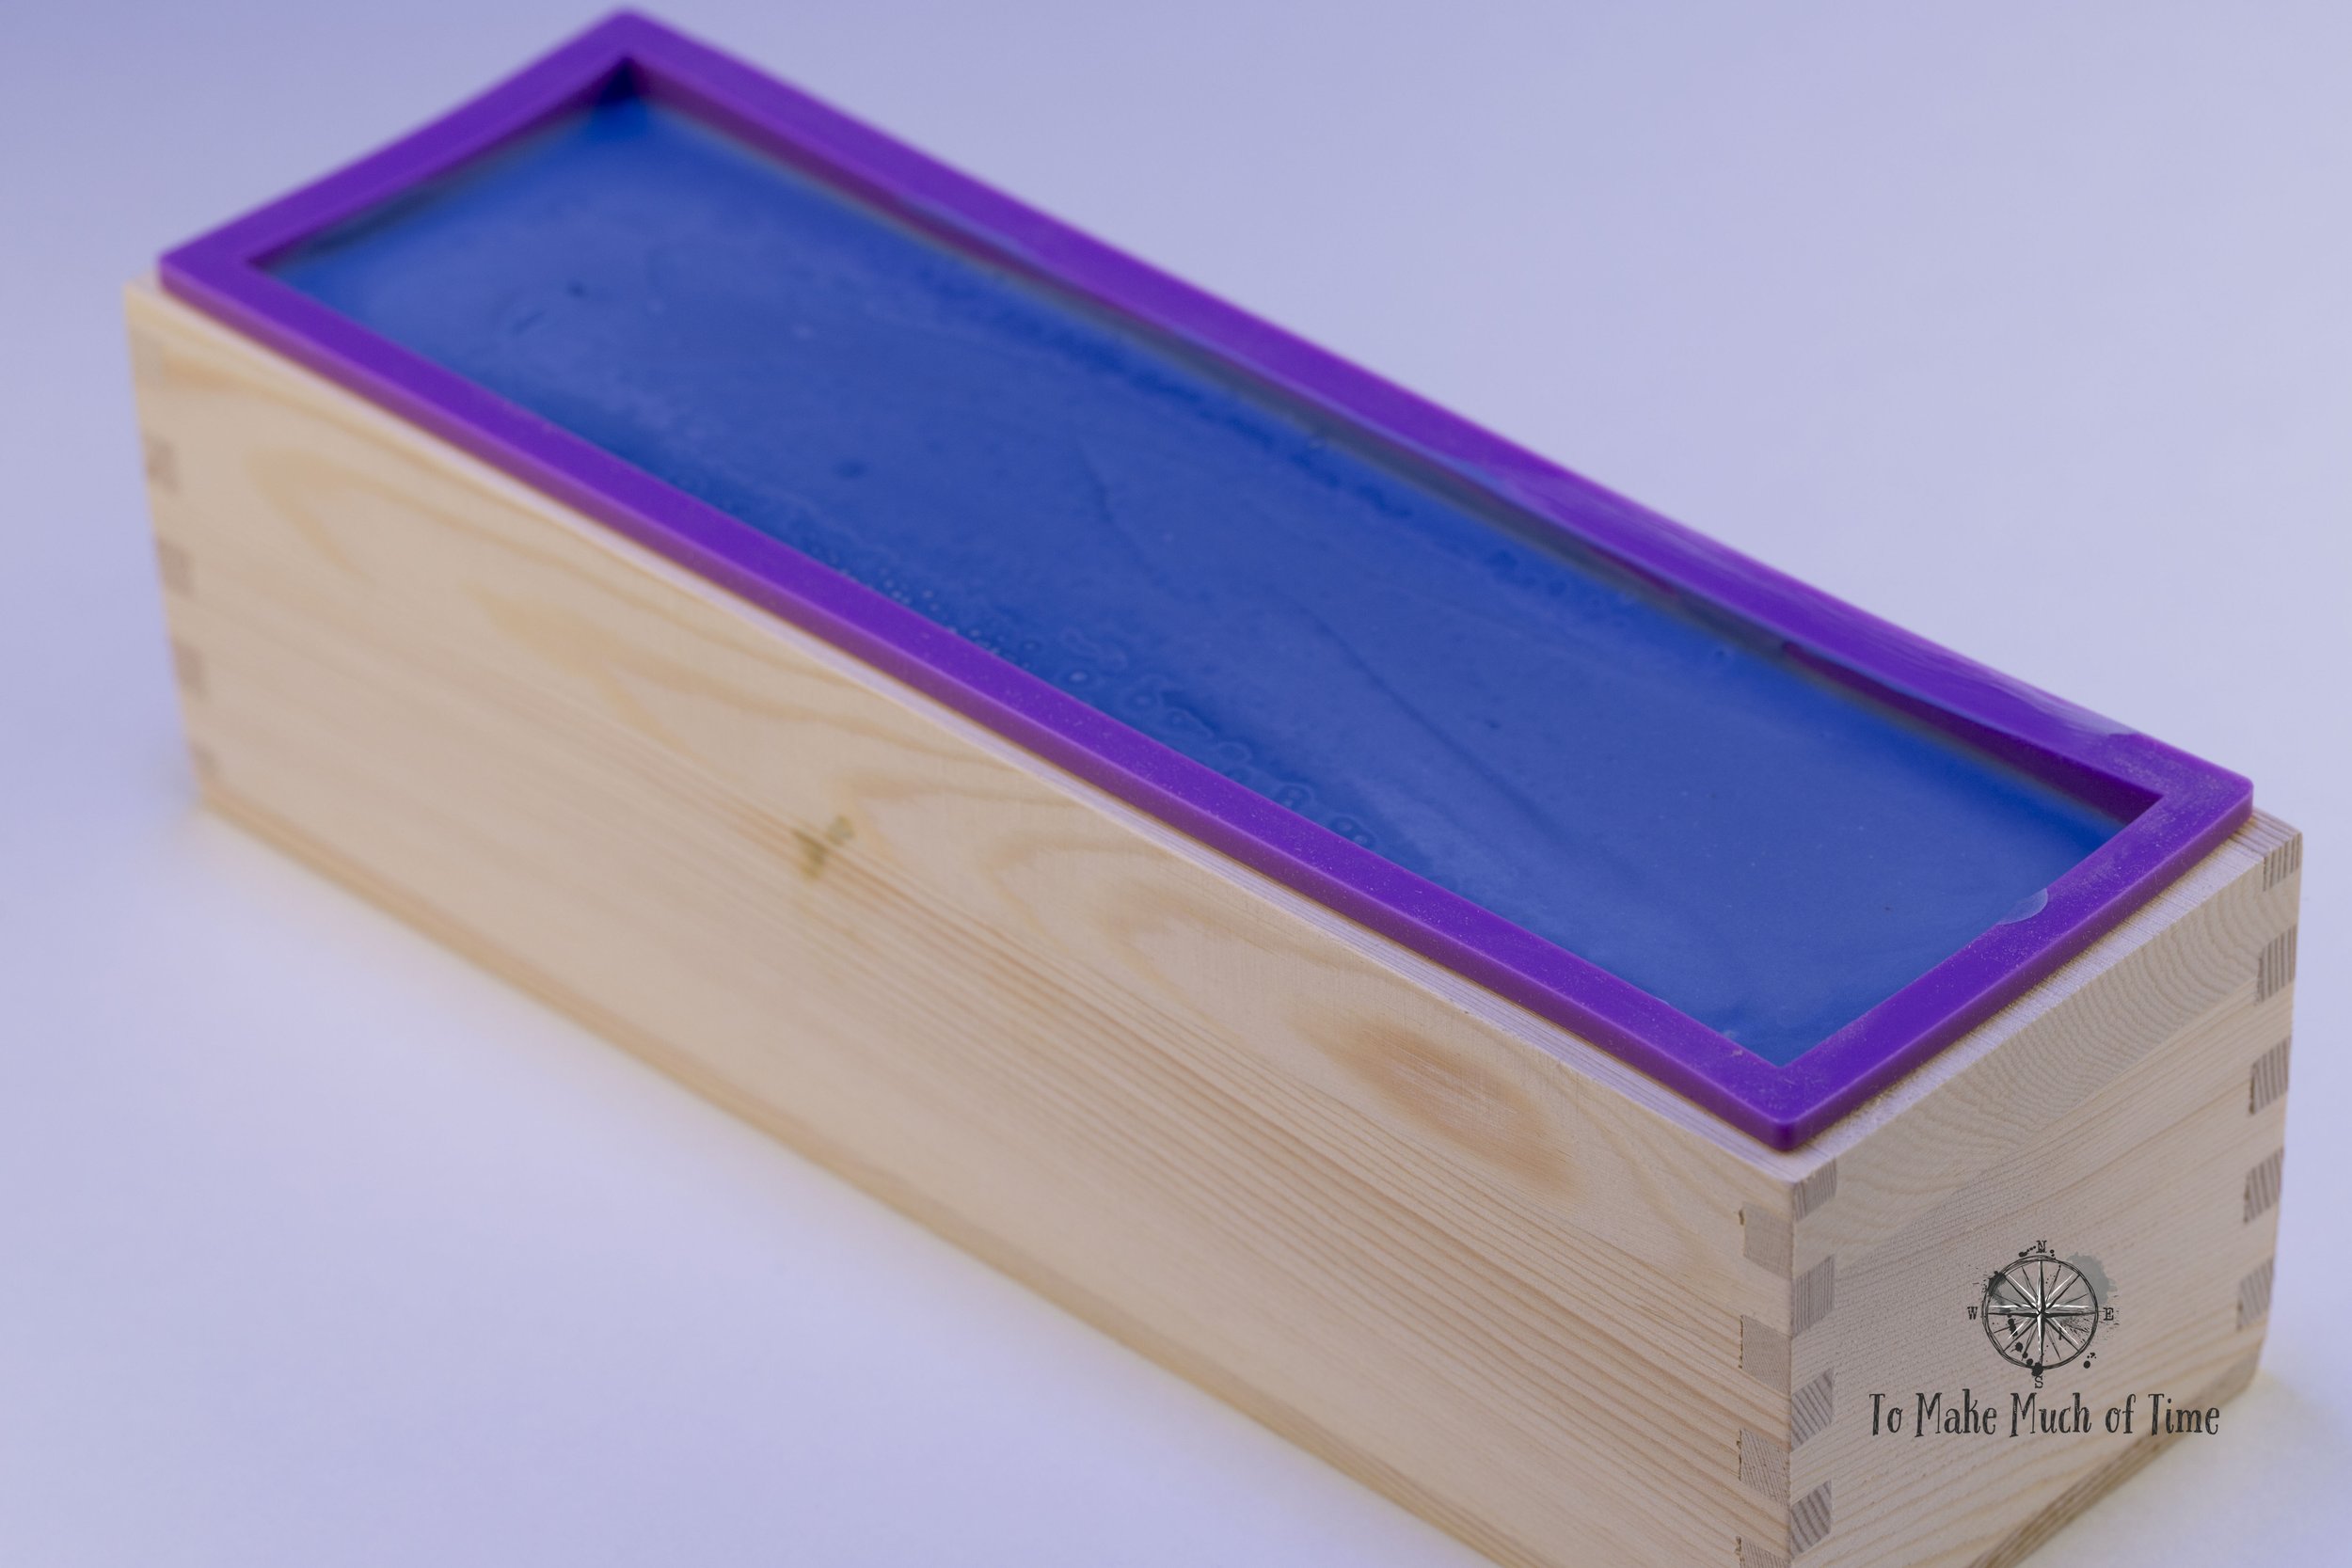
This amazing shade of blue only got brighter as the soap hardened.
Since the goal of this post is not to give you a step-by-step recipe but more so to share the experience, I’ll run through the general process here. First we heated the frozen fat pieces with olive oil and coconut oil in a pot on the stove to melt the fat and combine them. Concurrently, Dustin mixed the lye with water outside in our yard. Lye is caustic and gets hot so safety first! Dustin mixed these ingredients outside and while wearing gloves. The total amount of this mixture is small (about a cup and a half) so he used a Mason jar to mix them. Dustin added the fat and oil concoction to the lye (still outside) and stirred it a lot. This combination creates a chemical reaction, and when the mixture starts to thicken through a process called saponification, it is called ‘trace’.
Once the ingredients were combined, he brought them inside. We added the blue mica powder and sandalwood scent. He stirred the mixture continuously for about 30 minutes and then stirred it again about every 15 minutes for a few hours under it thickened into a custard-like consistency. Some people use an immersion blender for this instead of manual stirring, and that speeds the process up, but I wasn’t willing to let my immersion blender be used for this. If we find ourselves enjoying the soap-making process, we will get a dedicated immersion blender in the future.

Soap cutting supplies
From there, Dustin poured the beautiful blue mixture into the soap mold. The next step will be to let it sit for more than a day until it is sufficiently hardened - at which point it will be cut in the soap cutter. And from there, it will sit for about 3 weeks until it hardens into its final soap form. Some soaps only have to cure about a week, it really depends on the ingredients used and how long they take to be completed.
So, episode two of our soap saga coming soon . . .
Look at this beautiful blue color! We can’t wat to try this soap.
Click the image below to save this post to Pinterest for later!

Check out our other posts about our Adventures in Life:


Check out more adventures in life!